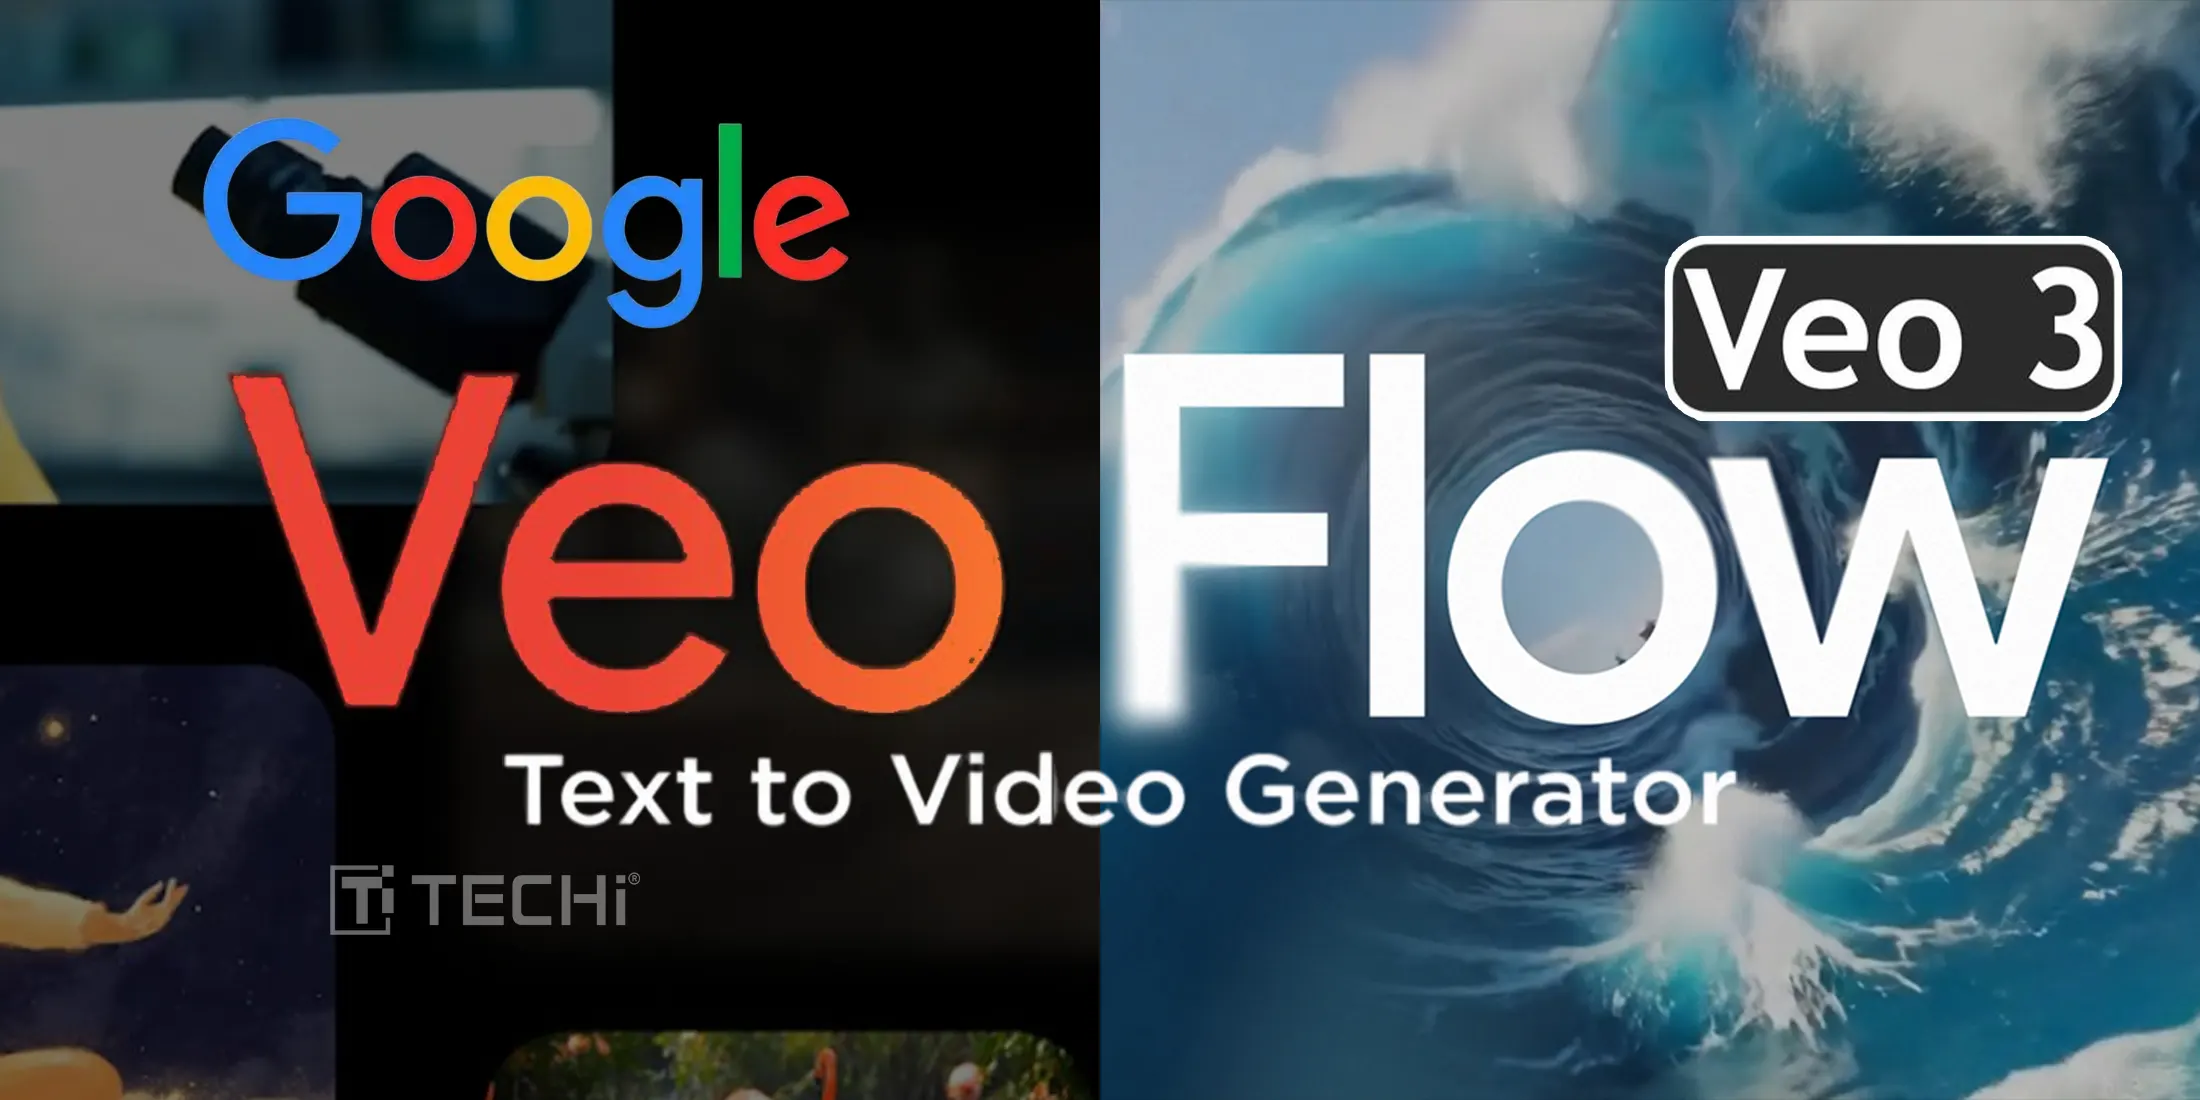

As Google VEO 3 gains global attention, creators are eager to learn how to use Google VEO 3 — the latest innovation in AI video generation. This guide breaks down everything you need to know about getting started with Google VEO 3 AI, including its Flow AI integration, free access, pricing, and creative potential.
Whether you’re a marketer, educator, or filmmaker, AI VEO 3 offers a revolutionary way to generate stunning, realistic Google VEO 3 videos using simple text prompts. Powered by Google AI Ultra, this new VO3 AI tool is available through Flow Google, allowing users to create cinematic-quality content without cameras or editing suites.
🔧 Step-by-Step Guide: How to Use Google VEO 3
Here’s a detailed walkthrough for beginners looking to try VEO 3 free or explore its advanced capabilities.
✅ Step 1: Sign In to Flow Google
- Visit the official Google VEO 3 portal.
- Sign in with your Google account (preferably a Workspace account).
- Navigate to the Flow Google dashboard — this is the central hub where you access all Flow AI tools, including VEO 3 AI.
✅ Step 2: Join the VEO 3 Free AI Program
- Click on “Try VEO 3 Free” on the homepage.
- Fill out a short form indicating how you plan to use Google VEO 3 AI.
- Approval may take a few hours to a day, depending on availability.
- Once approved, you’ll get access to the VEO 3 Free AI tier with limited rendering time and basic features.
✅ Step 3: Create a New VEO 3 Project
- In Flow Google, select “Create New Project” under Google VEO 3.
- Choose your desired video length, aspect ratio, and style (e.g., cinematic, animation, documentary).
- Select a language or voice style if you’re adding narration.
✅ Step 4: Enter Your Prompt
- In the VEO 3 editor, you’ll find a text box that says, “Describe your scene.”
- Type something like:
“A futuristic city at night with flying cars and neon lights, in cinematic style.” - You can also upload a script or audio if you’re using multimodal input with Flow AI.
✅ Step 5: Preview and Generate Video
- After entering your prompt, click “Preview.” AI VEO 3 will show static thumbnails of potential scenes.
- Once satisfied, click “Generate Video.”
- Within 30–90 seconds, Google VEO 3 AI will render a high-definition video, complete with motion, transitions, and lighting effects.
✅ Step 6: Edit and Export
- Use Flow AI’s built-in timeline to trim, rearrange, or add music and subtitles.
- Choose your export resolution (up to 1080p in the free tier).
- Click “Download” or publish directly to YouTube, Google Drive, or social platforms.
💰 Google VEO 3 Cost & Subscription Tiers
Understanding Google VEO 3 pricing is important before scaling your content production:
- VEO 3 Free AI Tier: Limited video credits per month, 720p export, Flow AI basic tools.
- VEO 3 Pro Plan: Expected to start at $29/month, includes longer videos, higher quality exports, and commercial use rights.
- Enterprise Plan: Tailored for studios, educational institutions, and agencies — includes API access, collaboration tools, and priority rendering.
📽️ Why Use Google VEO 3?
- Create Google VEO 3 Videos in Minutes — No filming or editing skills required.
- Powered by Google AI Ultra — One of the most advanced video AI engines.
- Perfect for Marketers, Educators, YouTubers, Filmmakers.
- Deep integration with Flow Google makes it a seamless tool for teams.